Saturday, 3 May 2014

12 Steps for Planking A Radius Segment


Planking the radius segments is more difficult than expected. I thought the bow radius segments should be the most difficult ones because of their small radii. But it turned out that the midships segments were the most challenging. But by use of sufficient force and plenty of screws I have been mastered the task.

Reasons for my trouble:
  1. I wanted planking the radius segments between two bulkheads with a single sheet of ply.
  2. I wanted scarfing the segment joints.
Most other self builders make it easier. They planking the radius segments with narrow ply strips of about 30 cm width and do it without scarfed joints.

But now in retrospect I would do it my way again if I would build another ship.


Bulkhead and Stringers are prepared for planking.
The radius section to be planked is covered by a piece of plywood of sufficient area and temporary fixed by 3x16 mm screws. Then the positions of bulkheads and stringers are marked from inside the hull to the ply.


After the piece of plywood has been removed again, the surplus for the scarfing joint, the overlap for the tangent stringers and the drilling holes for the screws are marked.
the prepared piece of plywood is flow-coated with epoxi


The hull-side scarfing joint is prepared. First roughly by using a hand-plane ...

... followed by using a belt sander

Stringers and bulkheads are coated with epoxy. First thin with a paint roller, ...

... then thick with a notched trowel.

Small metal latches are temporarily bolted to the hull to hold the radius segment in position until it is screwed in place


The radius segment is positioned ... 

... and then screwed in place

Done. The latches can be removed again. The screws are removed, before the second radius layer is applied.

Sunday, 6 April 2014

Video: Planking A Hull Segment


Planking Hull Segment From Bulkhead G To I


12 steps for planking of a hull segment
  1. Mark areas to be planed by a straightedge and a piece of chalk.
  2. Fairing stringers by a plane. For fairing the bulkheads it is more recommend to use a belt sander.
  3. Clamp a suitable piece of plywood board to the hull.
  4. Mark the boundaries of stringers and bulkheads on the inner side of the plywood board.
  5. Remove the plywood board from the hull, cutting-out the outer shape (don't forget the surplus for the scarfing joint) and drill the screw holes.
  6. Put the plywood board again to the hull and fix it by some screws.
  7. Mill the joint for the radius segment. I use a motor plane. Works better than a router.
  8. Remove the plywood board again for milling the scarfing joint.
  9. Flow-coat the inner side with epoxy.
  10. Coat stringers and bulkheads with epoxy. First thin with a paint roller, then thick with a notched trowel.
  11. Put the panel back to the hull and screw it tight.
  12. Remove out-swelling epoxy.


Sunday, 23 March 2014

Planking Of The Hull Continued


This weekend I have toiled hard and made good progress. I spent 15 houres by planking the midships sections at port and starboard side. Furthermore I faired the stringers and bulkheads by using plane and belt sander at portside aft section from bulkhead G to stern. 


Fixation of the planking scarf
Planking scarf after fairing
Working time been invested: 955 hours

Sunday, 16 March 2014

Planking Of Hull Segment From Bulkhead C To G Prepared

Today I faired the stringers from bulkhead C to bulkhead G. The ship's side is just slight curved in this section, so this task was more easy than the same task between stem and bulkhead C.

Stringers and bulkheads after fairing

Prepared hull segment

Tuesday, 11 March 2014

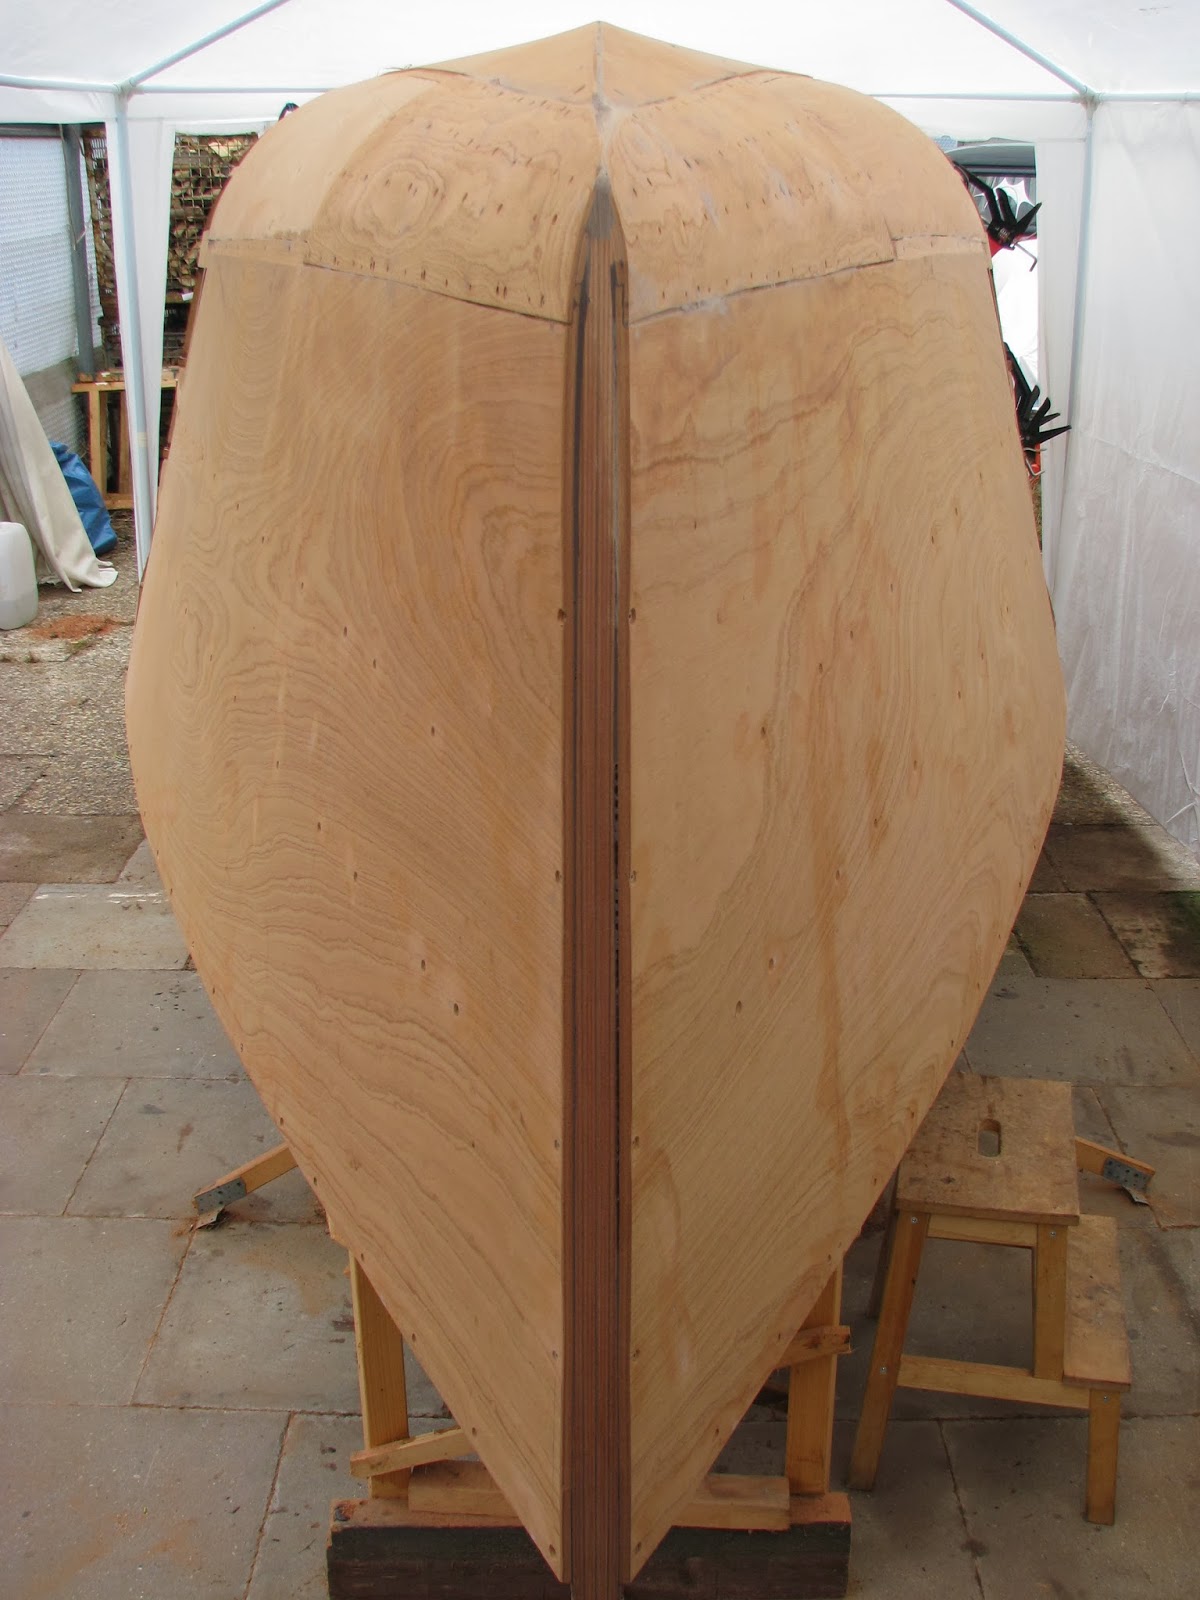
Stem Timber Attached

Last weekend I have prepared the stem timber from a 30 mm thick sapeli plank. Afterwards I screwed and glued it to the bow. Today I spent half an hour to fair it.


Working time been invested: 936 hours

Sunday, 2 March 2014

Bow Prepared For Attaching The Stem Timber

The outer plywood layers have been glued to the bow-side starboard and port-side radius segments. Most screws were removed after epoxy had set.
Today I faired the bow. Next step is attaching a 30 mm stem timber.