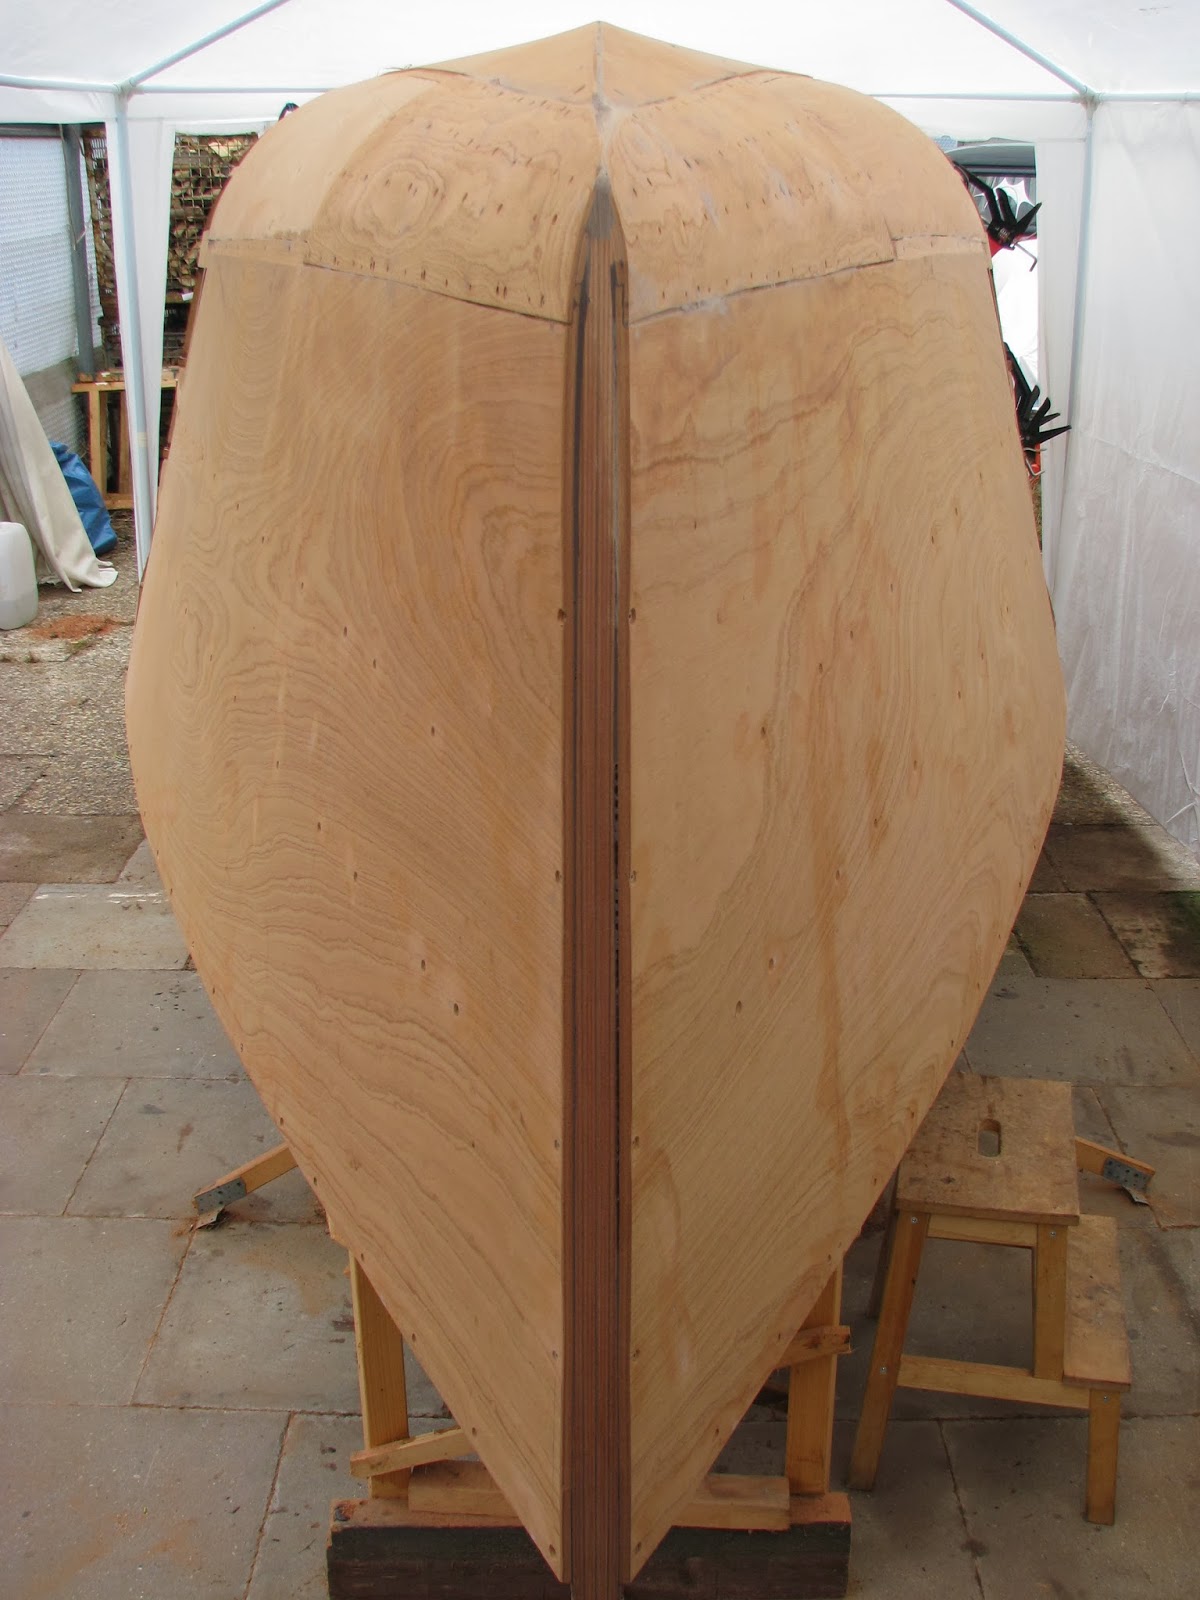
Sunday, 6 April 2014

Video: Planking A Hull Segment


Planking Hull Segment From Bulkhead G To I


12 steps for planking of a hull segment
  1. Mark areas to be planed by a straightedge and a piece of chalk.
  2. Fairing stringers by a plane. For fairing the bulkheads it is more recommend to use a belt sander.
  3. Clamp a suitable piece of plywood board to the hull.
  4. Mark the boundaries of stringers and bulkheads on the inner side of the plywood board.
  5. Remove the plywood board from the hull, cutting-out the outer shape (don't forget the surplus for the scarfing joint) and drill the screw holes.
  6. Put the plywood board again to the hull and fix it by some screws.
  7. Mill the joint for the radius segment. I use a motor plane. Works better than a router.
  8. Remove the plywood board again for milling the scarfing joint.
  9. Flow-coat the inner side with epoxy.
  10. Coat stringers and bulkheads with epoxy. First thin with a paint roller, then thick with a notched trowel.
  11. Put the panel back to the hull and screw it tight.
  12. Remove out-swelling epoxy.


Sunday, 23 March 2014

Planking Of The Hull Continued


This weekend I have toiled hard and made good progress. I spent 15 houres by planking the midships sections at port and starboard side. Furthermore I faired the stringers and bulkheads by using plane and belt sander at portside aft section from bulkhead G to stern. 


Fixation of the planking scarf
Planking scarf after fairing
Working time been invested: 955 hours

Sunday, 16 March 2014

Planking Of Hull Segment From Bulkhead C To G Prepared

Today I faired the stringers from bulkhead C to bulkhead G. The ship's side is just slight curved in this section, so this task was more easy than the same task between stem and bulkhead C.

Stringers and bulkheads after fairing

Prepared hull segment

Tuesday, 11 March 2014

Stem Timber Attached

Last weekend I have prepared the stem timber from a 30 mm thick sapeli plank. Afterwards I screwed and glued it to the bow. Today I spent half an hour to fair it.


Working time been invested: 936 hours

Sunday, 2 March 2014

Bow Prepared For Attaching The Stem Timber

The outer plywood layers have been glued to the bow-side starboard and port-side radius segments. Most screws were removed after epoxy had set.
Today I faired the bow. Next step is attaching a 30 mm stem timber.


Tuesday, 25 February 2014

Second Layer For Portside Radius Segment

I have glued now the second 4 mm plywood layer to the port-side radius segment. The result looks awful temporarily because a lot of screws were necessary to fit the stiff plywood to the close radius. When the epoxy has set, I will remove most of the screws. After the holes are filled and ground the work-part will look presentable again.


Sunday, 23 February 2014

BOATFIT Fair In Bremen

The small BOATFIT Fair in Bremen was quite informative.
  • I learned something more about flexible bonding. Crucial message: Avoid silicone! Displaced silicone components will cause problems forever by bonds and coatings.
  • I learned about glueing with epoxy resin: Grind cured epoxy layer just shortly before re-coating! The mechanically ruptured chemical bonds are better able to bind to the fresh epoxy.
  • I learnd that there is an alternative to teak deckboard available. Cork! I think I could get used to it.
Laying cork deckboard. Review

Dutch supplier for MARINEDECK 2000

General Agency Germany STAZO