This blog will take you along the different steps of building a 23 foot dropkeel sailboat. The DIDI 23 is one of the available designs for the amateur builder designed by Dudley Dix. The boat is built as a radius chine trailer sailer from plywood with bulb dropkeel.
ABOUT ME
I am 64, married, have two adult children and working as engineer for rf techniques at a physical research centre of the Helmholtz Association. I live close to the Elbe river in a suburb of Hamburg, Germany.
Sunday, 3 December 2017
Sunday, 19 November 2017
2500 Hours Working Time Completed
Today I worked on installation of a biological toilet.
As one can see, my biological toilet is quite simple. In principle it is just a hole in a box with an inserted plastic bucket. In the bucket a compostable plastic bag with cat litter is hung.
Sunday, 29 October 2017
Saturday, 16 September 2017
Shifting from Shipyard to Fitting-Out Berth
I decided to shift the boat from the the greenhouse-shipyard to
a fitting-out berth. Unfortunately the fitting-out berth is only another hall in an industrial zone and not a
port. Advantage: The new location is on my way from workplace to my home. This saves me about 40 minutes driving time.
| The boat has been lashed to the trailer and is hauled out of the greenhouse |
| The roller shutter door must be lifted up to the last lamella |
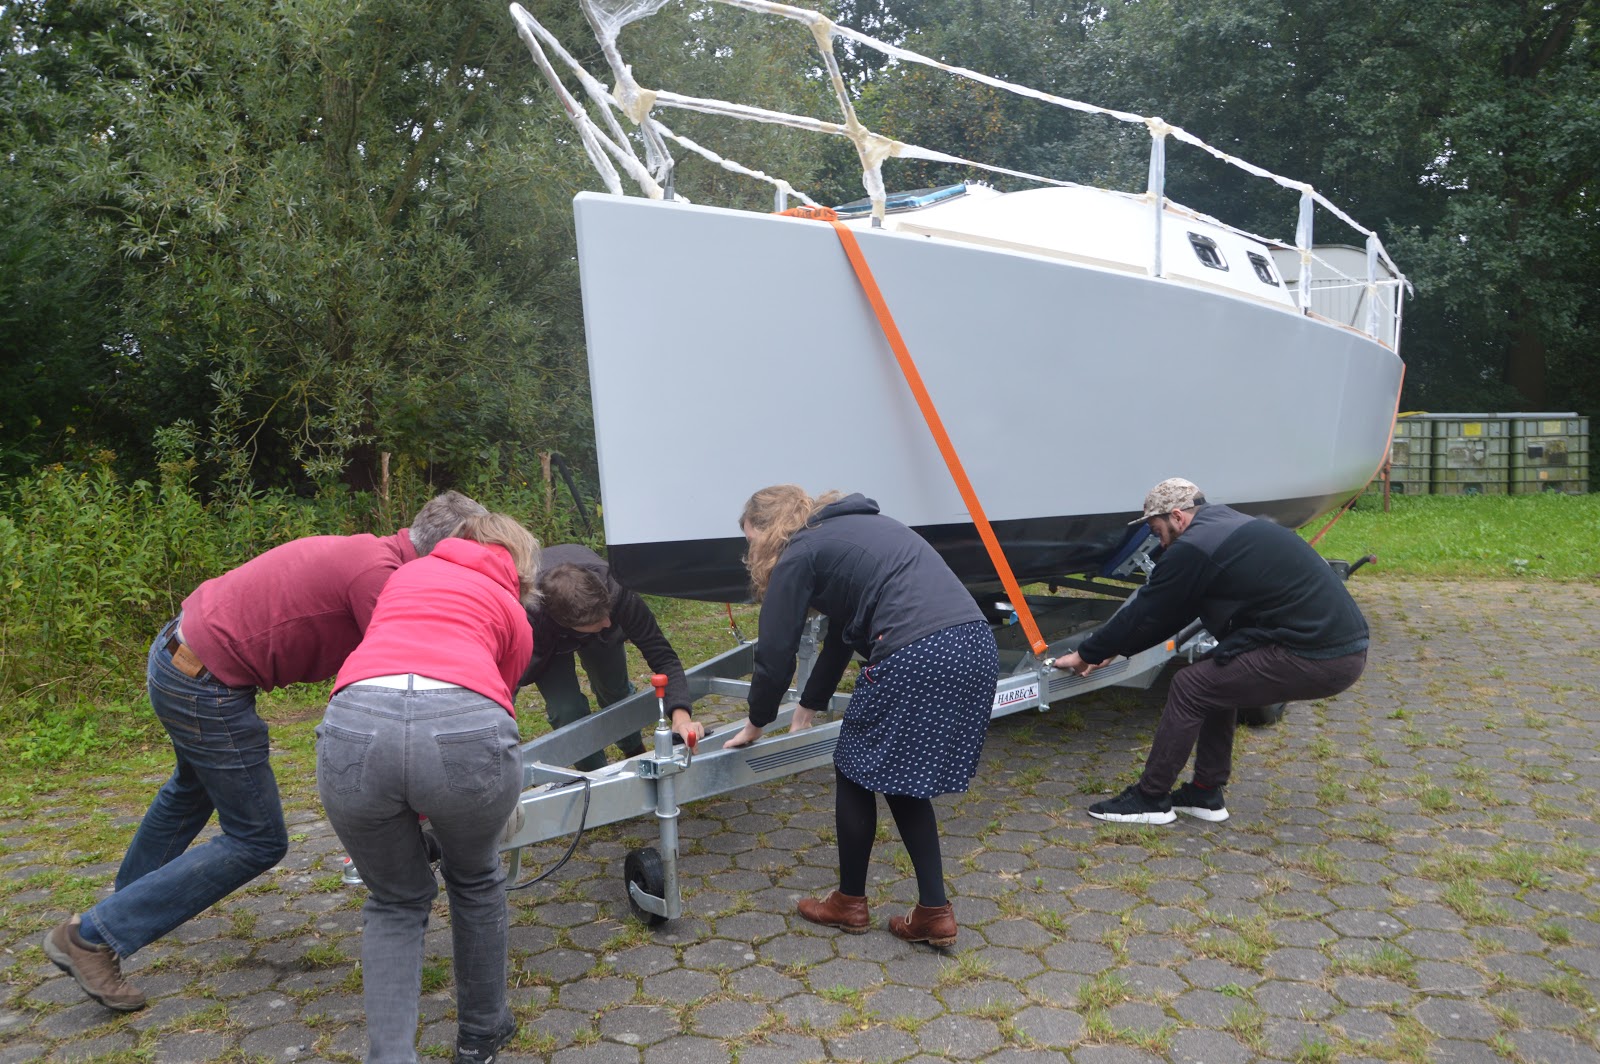
| Aligning the trailer for coupling to the car |
| The path to the road is quite narrow |
| We sailed successful round the corner on the first attempt - without touching the greenhouse |
| Arrival at the new location |
| Parking and aligning trailer and boat |
Sunday, 10 September 2017
Friday, 1 September 2017
Saturday, 5 August 2017
Inserting Screw Ankers for Attaching the Cabin Hatch
![]() |
| This older photo from March shows the bold pattern for fixing the cabin hatch. The holes were drilled to 12 mm and filled with epoxy. |
![]() | |
| The screws were fastened to the hatch frame together with brass screw ankers. To avoid epoxy impurity on hatch frame or window I protected vulnerable areas with tape and plastic foil. |
![]() | ||
| Detail: Screw with brass screw anker. To avoid that the screws stick with the screw anchors, I have lubricated them with vaseline. |
![]() |
| The hatch with the fastened screw ankers has been set into the epoxy filled holes. |
![]() |
| Detail: Hatch with the fastened screw ankers has been set into the epoxy filled holes. |
![]() |
| Hatch frame with screw ankers after epoxy has cured. |
![]() |
| Detail: Hatch frame with screw anker after epoxy has cured. |
![]() |
| Bore filled-up with epoxy |
Subscribe to:
Posts (Atom)


